

How do I replace the battery in a silicone animal lamp?
As a leading supplier of Silicone Animal Lamps, I often receive inquiries from customers about various aspects of our products, including how to replace the battery in these adorable lamps. In this blog post, I'll guide you through the process step - by - step to ensure that your silicone animal lamp continues to shine brightly for a long time.
Why Replace the Battery?
Before delving into the replacement process, it's important to understand why you might need to replace the battery. Over time, batteries lose their ability to hold a charge. You may notice that your Silicone Animal Lamp doesn't glow as brightly as it used to or that the light only lasts for a short period after being charged. These are clear signs that it's time to replace the battery.
Moreover, using old or worn - out batteries can pose a safety risk. They might leak, overheat, or even cause damage to the lamp itself. By replacing the battery regularly, you not only ensure optimal performance but also enhance the safety of using the lamp.
Tools You'll Need
To replace the battery in your Silicone Animal Lamp, you'll need a few basic tools:
- Small Screwdriver: Most silicone animal lamps have a small screw or two holding the battery compartment cover in place. A small Phillips or flat - head screwdriver, depending on the type of screw, will be necessary to remove the cover.
- New Battery: Make sure you have the correct type of battery for your lamp. Most of our Cute Silicone Lamp models use rechargeable lithium - ion batteries, but it's always best to check the product manual or the label on the battery compartment for the exact specifications.
- Tweezers: Tweezers can be handy for removing the old battery, especially if it's a small one and has been tightly fitted into the compartment.
Step - by - Step Battery Replacement Process
Step 1: Power Off the Lamp
Before you start working on the battery replacement, make sure the lamp is turned off. This is a basic safety precaution to prevent any electrical shocks or short - circuits during the process.
Step 2: Locate the Battery Compartment
The battery compartment is usually located at the bottom or on the side of the silicone animal lamp. Look for a small cover with a screw or a latch. Some lamps may have a more discreet design, where the cover blends in with the overall appearance of the animal.
Step 3: Remove the Battery Compartment Cover
Use the small screwdriver to carefully remove the screw or un - latch the cover. Place the screw in a safe place so that you don't lose it. If the cover is held on by a latch, gently pry it open using your fingers or the edge of the screwdriver.
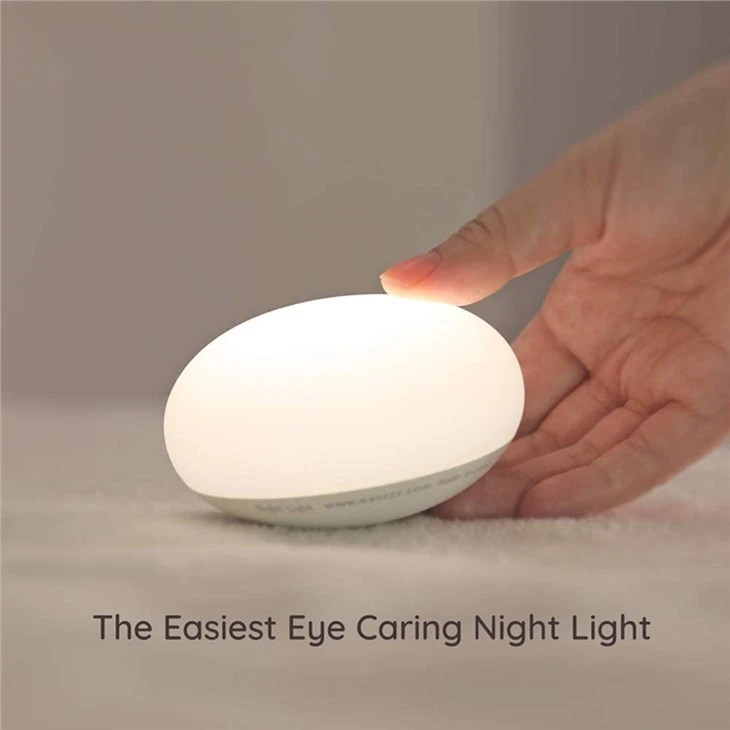

Step 4: Remove the Old Battery
Once the cover is off, you'll see the old battery. Use the tweezers to carefully lift the battery out of the compartment. Be gentle to avoid damaging the battery or the wiring inside the lamp. Take note of how the battery is connected, especially the positive and negative terminals.
Step 5: Insert the New Battery
Take the new battery and align it with the terminals in the battery compartment. Make sure the positive and negative ends of the battery match the markings in the compartment. Gently press the battery into place until it is securely seated.
Step 6: Replace the Battery Compartment Cover
After inserting the new battery, place the battery compartment cover back in position. If there was a screw, use the screwdriver to tighten it. If it was a latch, snap the cover back into place.
Step 7: Test the Lamp
Once the battery compartment cover is back on, turn on the lamp to test if it's working properly. If the lamp lights up, congratulations! You've successfully replaced the battery. If not, double - check the battery connections and make sure the battery is properly inserted.
Tips and Precautions
- Handle Batteries with Care: Batteries can be dangerous if mishandled. Avoid dropping, puncturing, or exposing them to extreme temperatures.
- Dispose of Old Batteries Properly: Old batteries should be recycled at a designated recycling center. Do not throw them in the regular trash.
- Refer to the Manual: If you're unsure about any step in the process, refer to the product manual that came with your Silicone Led Night Lamp. It contains detailed instructions and safety information specific to your lamp model.
Conclusion
Replacing the battery in a silicone animal lamp is a relatively simple process that can be done at home with just a few basic tools. By following the steps outlined in this blog post, you can keep your lamp shining brightly for years to come.
As a Silicone Animal Lamp supplier, we are committed to providing high - quality products and excellent customer service. If you have any further questions about our Silicone Led Light or need assistance with battery replacement, please feel free to contact us. We're always here to help you make the most of your purchase. Whether you're looking to restock your inventory or make a one - time purchase, we'd love to engage in a procurement discussion with you. Reach out to us, and let's explore how our products can meet your needs.
References
- General knowledge about electronics and battery replacement.
- Product manuals of Silicone Animal Lamps.


